
After 25 years in business restoring and preserving historic architecture, there are not many ‘firsts’…
We Expect Challenges: Restoring Windows at a Boston Landmark Did Not Disappoint
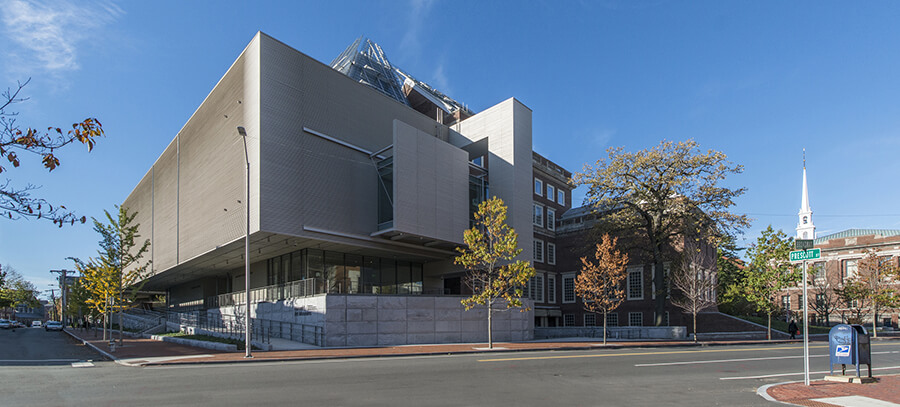
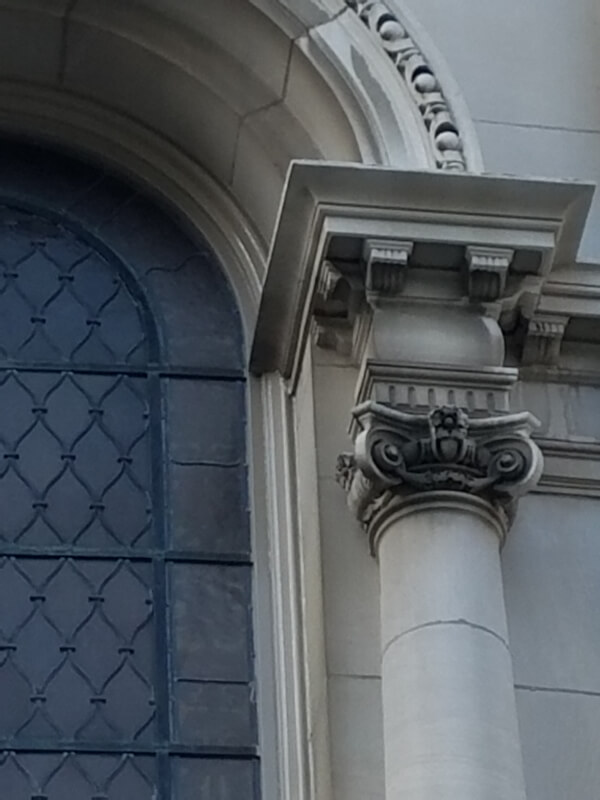
The restoration and preservation work we do is highly technical; we expect issues and challenges to arise as the work is rarely straight-forward. Historical buildings in New England may be hundreds of years old, so our eyes are wide open when kicking off a multi-year window restoration project on a Boston landmark built in 1894.
Our Work
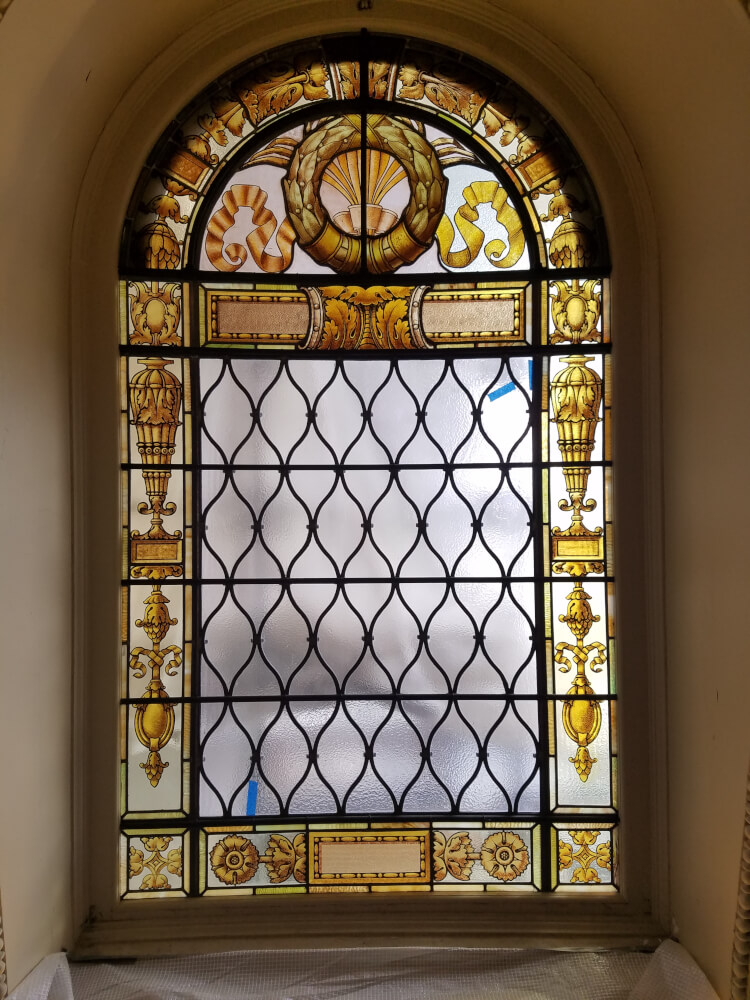
M&A was in charge of the restoration of 123 wood windows containing ornate stained-glass panels, and removing and restoring the wood and stained-glass panels at large radius dormer windows. After restoration, we would furnish and install protecting glazing of the stained glass at each opening. All to be completed over three years, with the phases being planned by each façade of the building.
Phase 1: Complex Challenges from the Start
Our first restoration challenge was identified immediately upon accessing the windows for the measurement of protective glazing. The task was to apply flat aluminum glazed panels, arched as needed to fit the opening and not obscure the stained-glass artwork. However, many of the windows, including the arched windows, had a small but significant radius. The radius was such that a flat panel would not fit, even if the opening were adjusted or the aluminum panel resized, so we sourced the glass with both custom radius and arch configurations.
The second challenge awaited us. Some of the windows had carved stone surrounds that encroached on the wood frames, and the protective glass panels needed to fit under the stone encroachments at either side. Some panels were able to be installed, but in two instances small cuts needed to be made to the stone and Dutchmen fitted to where the wood had been cut to fit the stone.
The third challenge was how best to provide a secure attachment around the opening given how narrow the wood surrounds were. We solved this by attaching custom metal angles to the frame and attaching the protective sash to the angles.
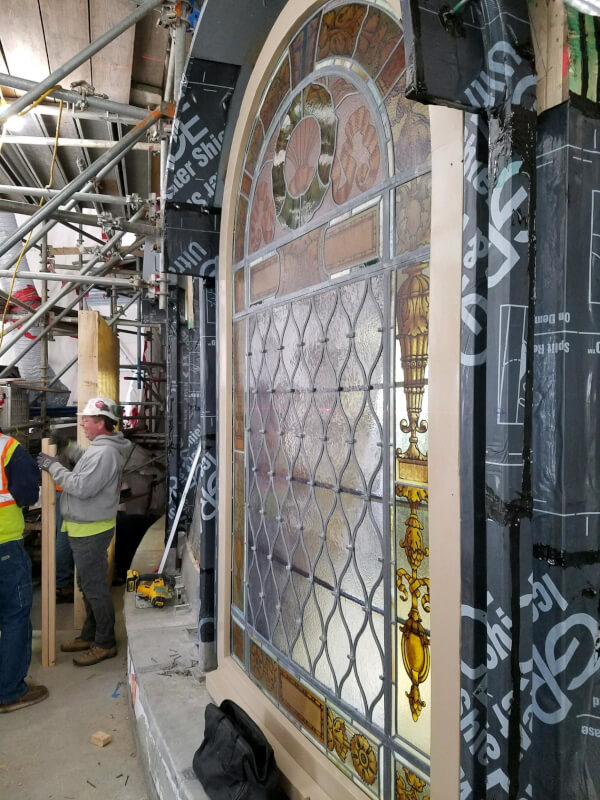
The last challenge of the first phase was related to the protective glazing. The four largest windows, just under twelve feet high, were inches too large to use a single glass panel. We were able to add a cross-member for the panel exactly at one of the glazing bars in the stained-glass panel to lessen any impact to the windows’ appearance.
With the first phase complete, we were ready to move on, certain we knew all that the building had in store for us – or so we thought.
Phase 2 and Phase 3: Complex Restoration and Reinstallation
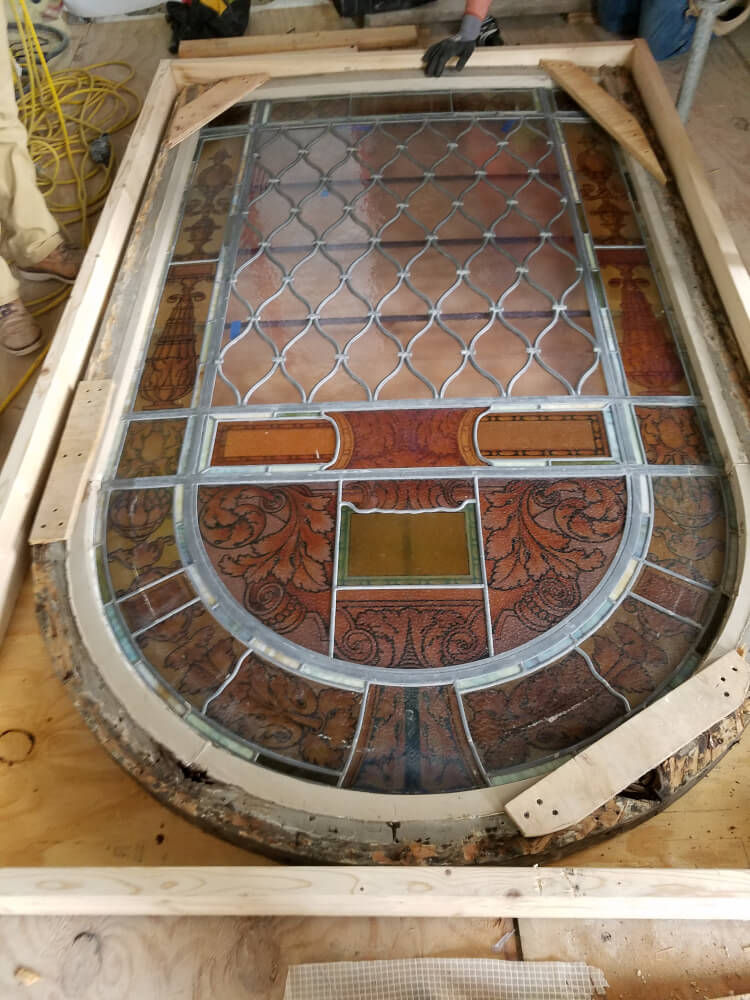
After the wood restoration and protective glazing, the next two phases of the project involved large (roughly 5 feet by 8 feet) dormer windows in the semi-domes at the North and South facades.
The next challenge: The dormers did not have wood frames.
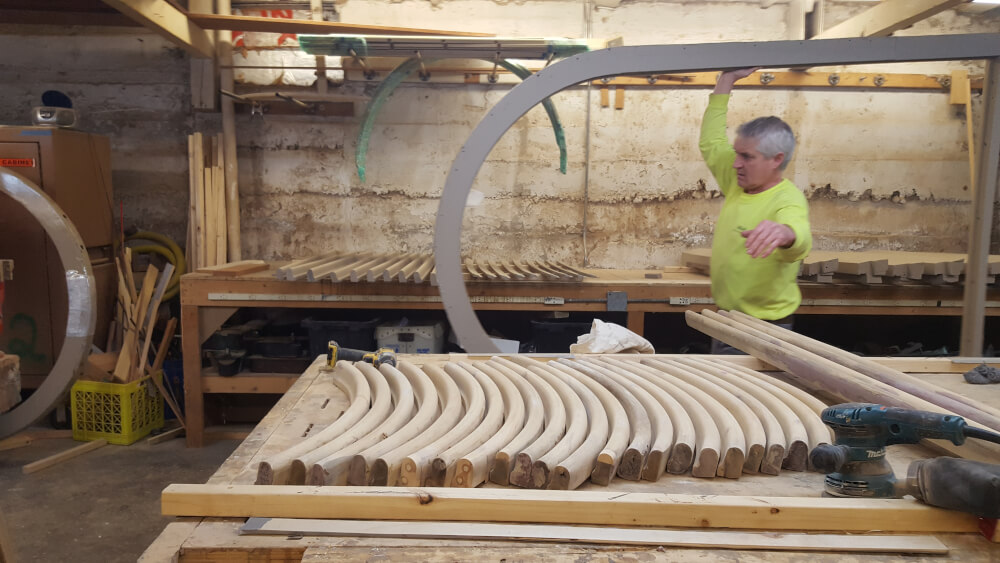
Each stained-glass panel was set into a wood sash that was attached by heavy wire to the opening and held in place from the front by the stone surround, and from the interior by plaster, and each panel rested on a wood sill. The sash maintained the same curve as the semi-domes, so they were on a gentle radius.
Deconstructing & Transporting for Restoration
To further complicate matters, the wood was in very poor condition. We needed to stabilize the sash prior to removal so as not to lose the stained glass; then, we set each sash, still holding its stained-glass, into its own custom-made crate transport, and fastened the panel in place inside the crate. The heavy crates were lowered to the ground and transported to the stained-glass studio where the panels were restored. M&A took the wood sash to its shop for restoration of the failing joinery. Some of the sills were replaced, some repaired, and all nine sashes from each dome were restored and painted.
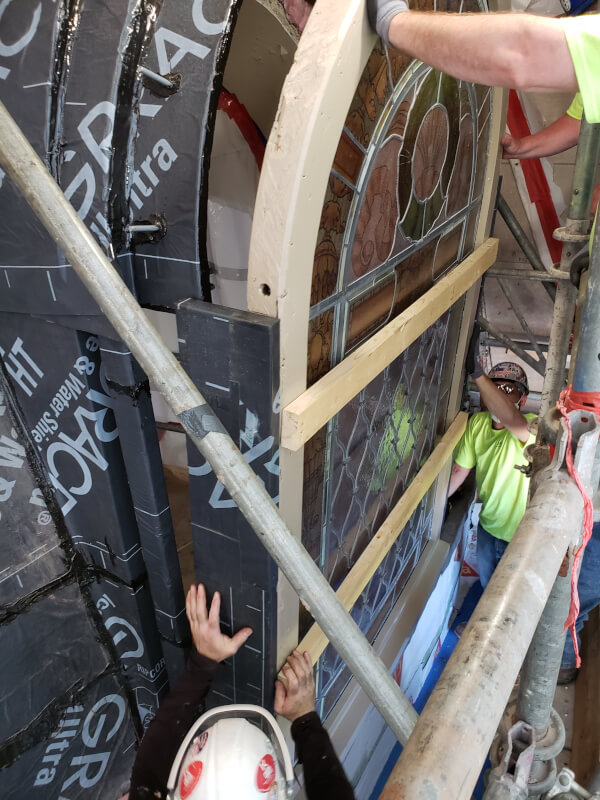
Reinstallation of the Windows: The Sash, Sills and Stained-Glass
Now it was time to get the windows back in place. So, we reversed the process. We took the wood sash back to the glass studio, re-installed the stained-glass in the wood sash, then crated and hauled them back to the jobsite, where we custom fit all the sash and frames into the rebuilt stone surround. The project engineers designed a stone surround with blocking and flashing that holds the heavy sash securely and protects the sash and sills from deterioration. We were then able to install the protective glazing panels, finishing the project.
After all these years of complex restoration and preservation work, we continue to be surprised and challenged. It’s helpful and essential for us to keep our sense of humor as we figure out solutions to preserving history while accounting for such unique architectural constructs. Another Boston landmark restored. We look forward to what the next project entails!
Related Posts